
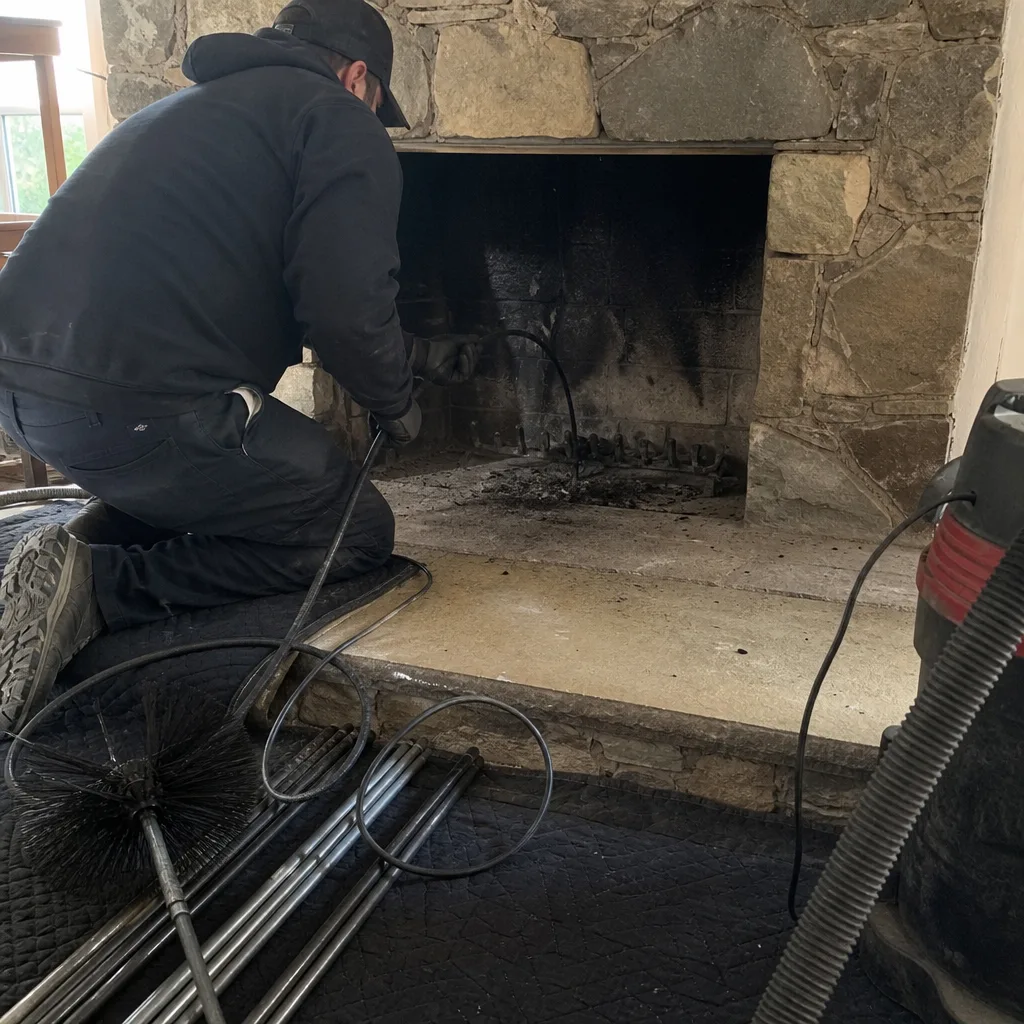
Level 1 sweep and inspection to the NFPA 211 annual standard - flue, crown, cap, and flashing checked and photographed
Chimney sweep logs do not sweep chimneys. They loosen some creosote - which then falls where a brush and vacuum still have to collect it.


 Before
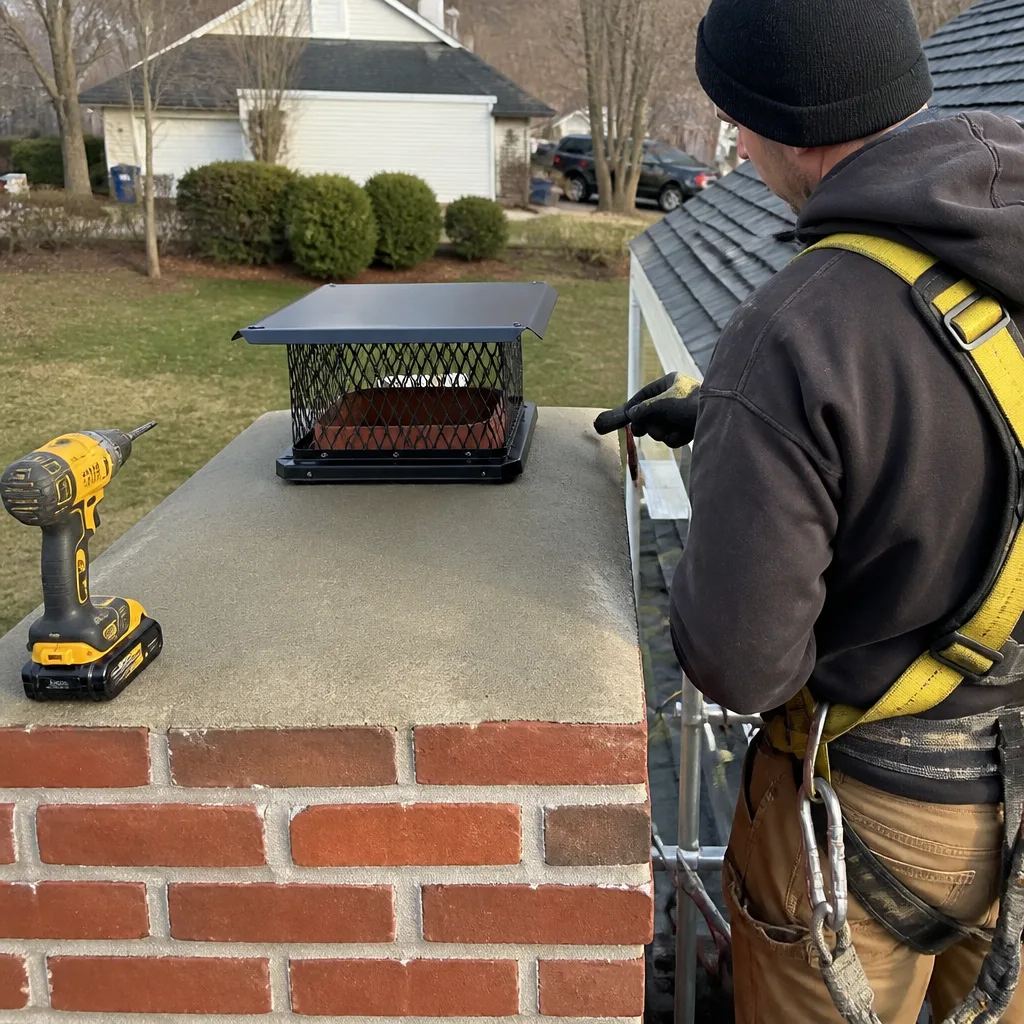 After
After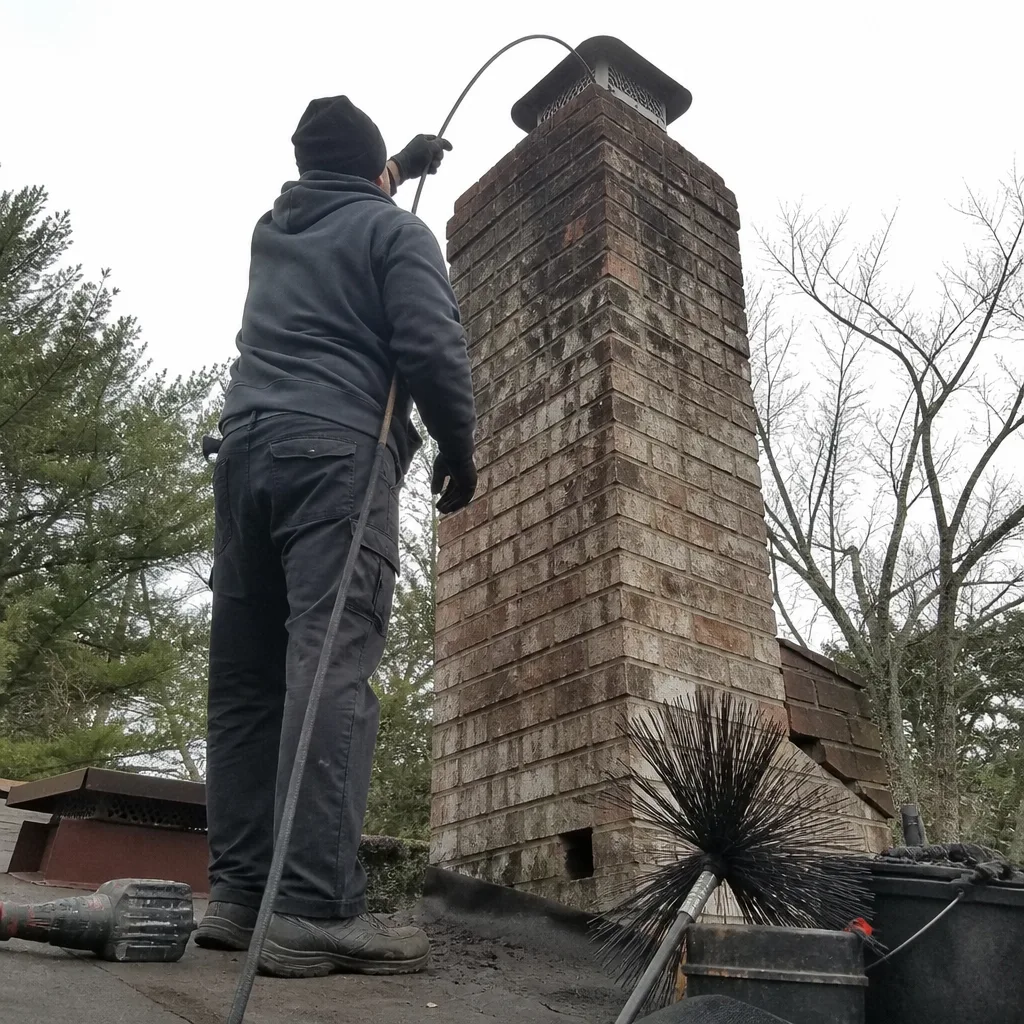 Before
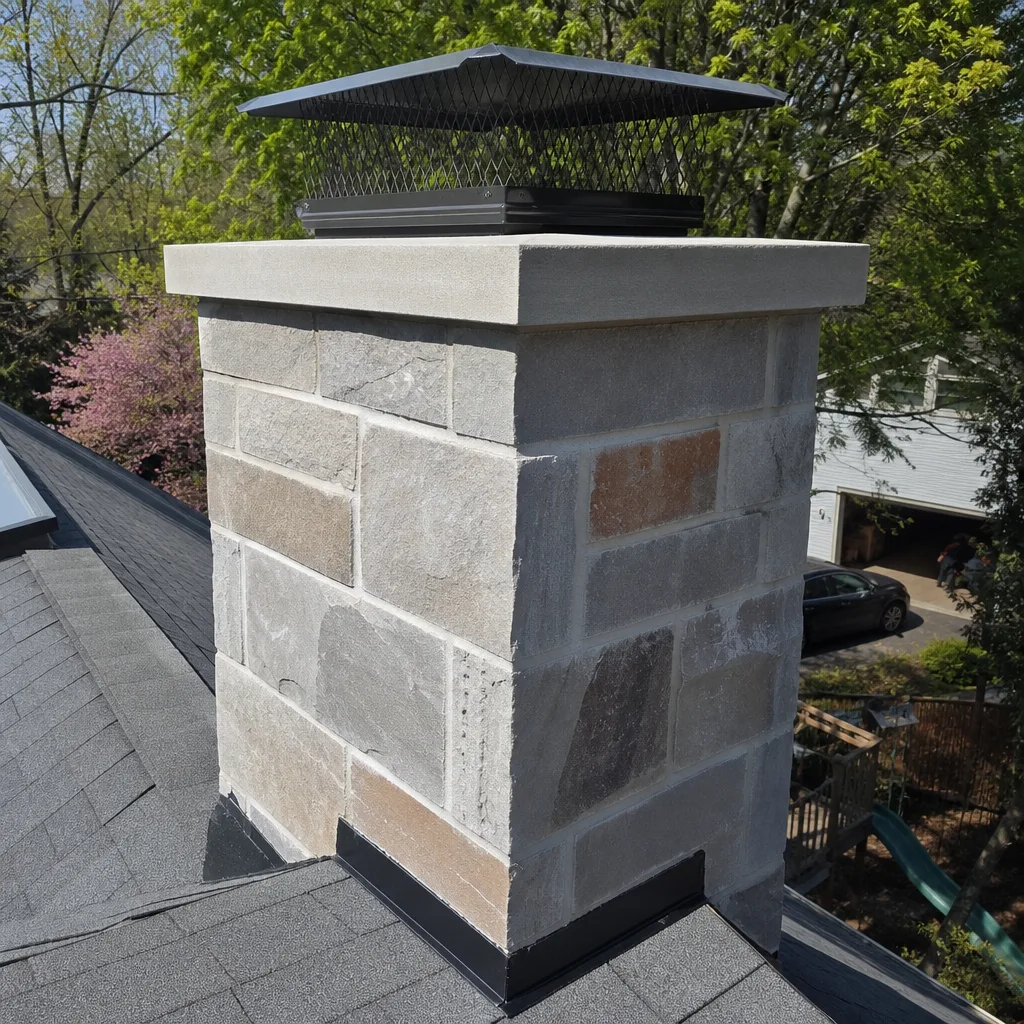 After
After Before
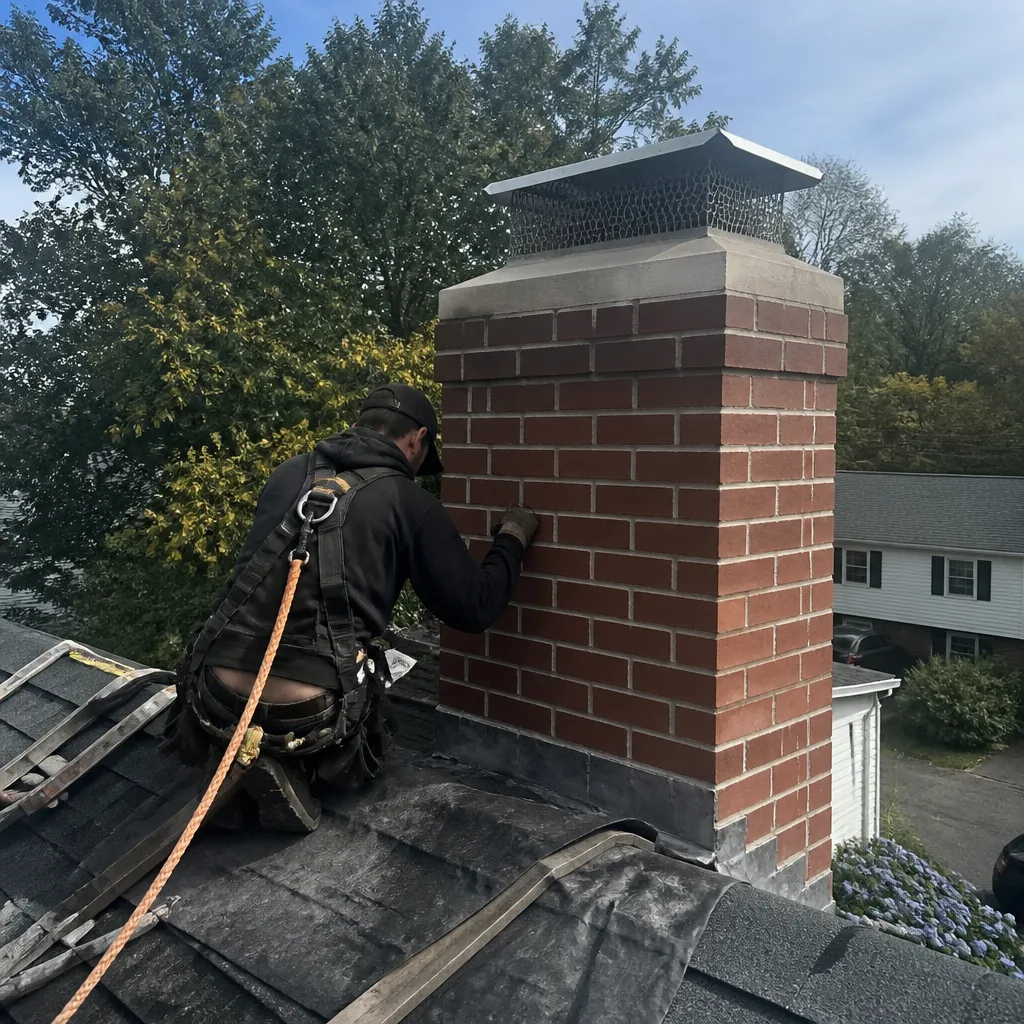 After
AfterGelco Chimney Cap Installation: The Annapolis Owner’s Guide
Gelco chimney cap installation in Annapolis typically runs $245 to $485 installed, depending on the cap size and how much of the old mounting hardware needs to come out with it. We keep Gelco-compatible caps and mounting kits on the truck, so most swaps happen in a single trip. The way most folks discover the cap failed is quiet: a rust stain creeping down the brick, a cap that’s listing to one side after a nor’easter, or a flue that suddenly smells like wet ash every time the wind shifts off the Chesapeake.

Top Hat Chimney is an independent Annapolis chimney company. We install Gelco products and service them, but we’re not affiliated with Gelco. That matters because we’ll tell you straight when a problem is the cap, when it’s the crown underneath it, and when the honest answer is that a $40 bracket is all you need instead of a whole new assembly.
Which Gelco Models This Applies To
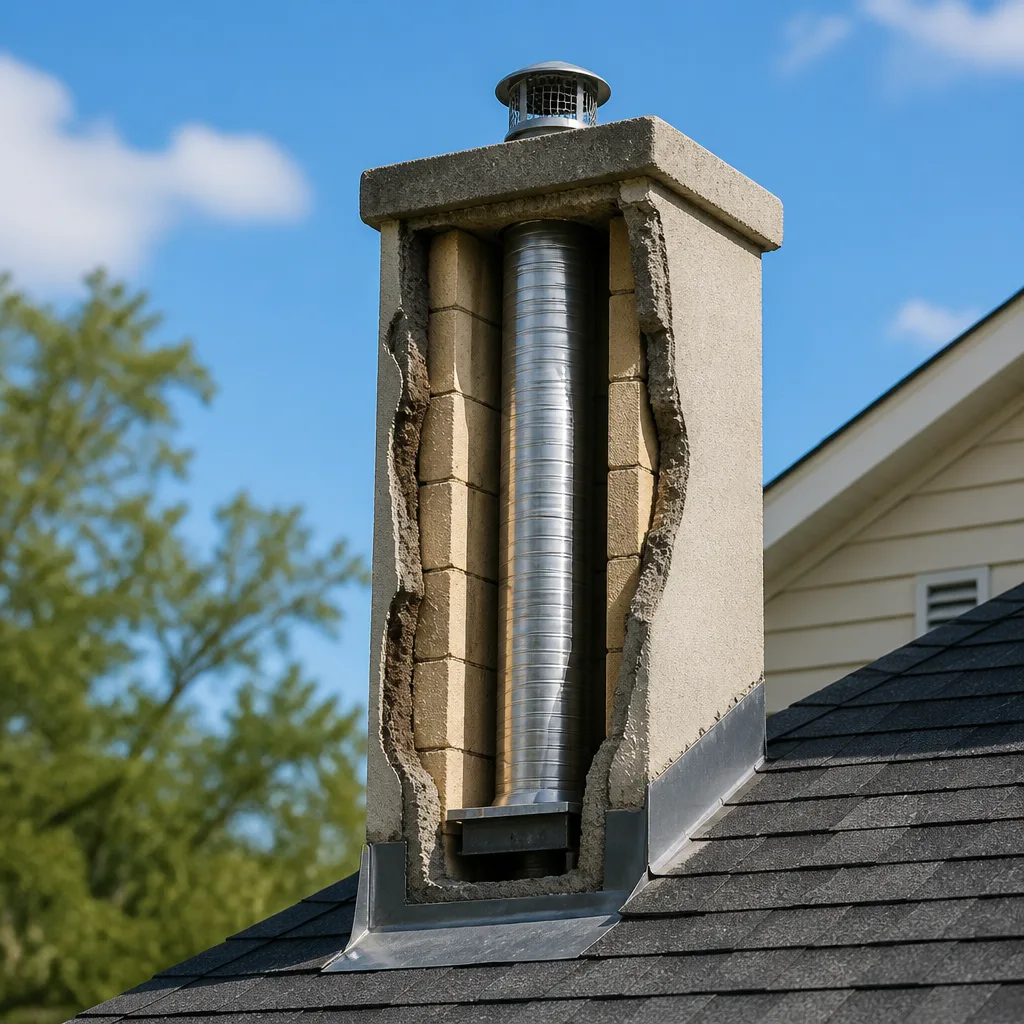
Gelco builds caps for most standard flue sizes, but the gotcha is the mounting style. Older Gelco slip-in caps slide inside the flue tile and hold with friction screws or silicone, while the newer Gelco outside-mount models clamp around the outside of the flue and need a cap that’s sized to your tile’s outer dimensions, not the inner opening. Measure the outside lip of your flue before you order anything, and double-check the screws. Gelco’s stainless hardware is solid, but the older zinc-plated screws they used on some 90s-era caps rust through long before the cap itself gives up.
If you can still read the label on the underside of the cap, that helps. Gelco stamps the model and flue size on most units. If it’s gone, bring us a photo of the cap from above and one from underneath, and we can usually identify it before we set foot on the roof. And here’s the OEM-vs-aftermarket reality with Gelco specifically: the caps themselves are uncomplicated stainless steel or copper sheet metal. A well-built aftermarket cap from Olympia or Copperfield can match or beat the original, but the mounting kit is where we recommend staying Gelco-compatible. The brackets and fasteners are the part that fails first, and the geometry matters.
Signs Your Gelco Chimney Cap Installation Is Failing
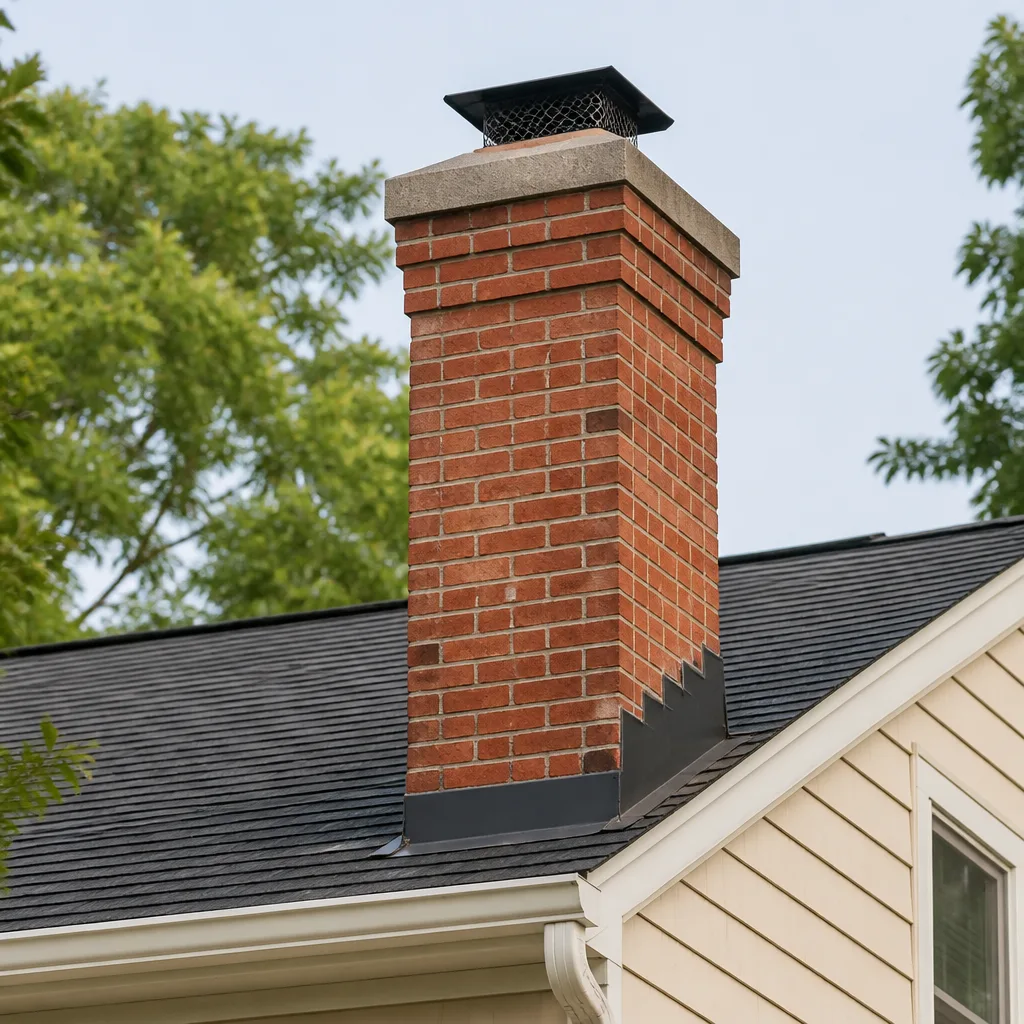
- Rust weeping down the chimney brick. This is the classic. The cap’s stainless steel is fine, but the mounting screws or the base flashing has rusted and the runoff is staining your masonry. If caught early, it’s often a hardware swap, not a full cap replacement.
- Water in the firebox after heavy rain. In Annapolis, that usually means the cap mesh has torn or the cap shifted off the flue. Rain comes at you sideways off the Severn River, and a cap that’s a half-inch out of true will let it in.
- Debris or birds in the flue. A cap with a torn or rusted-out screen stops doing its one job: keeping starlings, squirrels, and maple seed pods out of your flue. Here in Anne Arundel County, squirrel nesting in uncapped or damaged flues is the most common wildlife issue we pull out.
- Odor from the fireplace, especially in damp weather. This is the “wet flue” smell. The cap has lost its seal, moisture is wicking down the flue, and what you smell is creosote paste rehydrating inside the chimney. That smell is your early warning before liner damage starts.
- A cap that’s visibly leaning after a storm. The Chesapeake gets real wind. A cap that’s canted to one side means the brackets or tapcons have pulled loose from the crown. Every day it sits loose, it’s levering against the mortar around your top flue tile.
Replacement Cost & What’s Included
In Annapolis, an installed Gelco-compatible cap runs $245 to $485. The spread comes down to size (a single flue on a ranch is the easy end; a two-flue setup with outside-mount hardware is the high end), material (stainless is standard, copper is a premium), and how much of the old mounting hardware has to be ground out. If the flue tile lips are intact and the crown is sound, it’s a straightforward swap. If the crown needs work, that’s the honest conversation we have before we quote, not after.
You get the parts-and-labor number before a single tool comes off the truck. Every Gelco cap installation we do includes removing the old cap and hardware, prepping the contact points, installing the new assembly, verifying the seal with the camera, and hauling the old one away. The 90-Day Done Right Promise covers the work, in writing. If the cap shifts, leaks, or doesn’t fit right, one call brings Wendell back. No arguments, no re-invoice.
And the standing offers still apply: $40 off any repair over $200, no trip charge inside the county, and 10% off always for seniors and veterans.
DIY or Call Us?
A chimney cap is roof work, and roof work on an Annapolis house usually means a steep pitch or a standing-seam metal roof that doesn’t forgive a wrong step. If your roof is walkable and you’re comfortable up there, you can check a few things safely from the ground with binoculars: is the cap centered on the flue, is the mesh intact, can you see daylight through rust holes, and is the base flashing or mounting band flush against the tile. That tells you what’s wrong. It doesn’t fix it.
Where DIY on a Gelco swap goes sideways is fast: the old mounting screws are often corroded into the flue tile, and one snapped screw head means drilling out stainless while balanced on a roof slope. Then there’s the sealing step. Silicone on a damp, dusty crown doesn’t bond, and a $10 tube of the wrong sealant is how a $300 cap job becomes an $800 crown repair. Wendell and his crew do this with fall protection, the right bits, and the camera. If it doesn’t need doing, he’ll tell you that too. Call (240) 851-3653 and we’ll give you a straight answer.
FAQs
A Gelco stainless cap on an Annapolis chimney lasts 10 to 15 years before the hardware begins to fail, though the cap body itself often outlasts the mounting screws. Coastal air and the freeze-thaw cycle near the Bay are hardest on the fasteners, not the metal. Annual inspections let us catch the hardware before it damages the crown.
A rusted Gelco cap can be repaired if the damage is in the mounting hardware or a single torn section of mesh, and we’ll quote that honestly when it applies. If the cap’s base is rusted through or the metal has thinned, replacement is cheaper than chasing rot year after year. The camera tells us which one you have.
A Gelco cap swap takes about one to two hours, from setting ladders and fall protection through removing the old hardware, installing the new assembly, sealing it, and confirming the fit. If the crown underneath needs attention, that’s a separate repair we’ll discuss before any work begins.
We keep Gelco-compatible caps, mounting kits, and fasteners on the truck in common sizes along with DurFlex and HeatShield parts for liner work. For custom flue sizes, we order the cap and have it in hand before the install day. Call (240) 851-3653 and we’ll confirm what fits yours.
Written by Wendell Pike, Owner, Top Hat Chimney - Annapolis, MD at Top Hat Chimney, serving Annapolis and nearby areas.